Friday, January 28, 2011
Buttons to the Rescue
Little black canvas flats - comfortable, yes - stylish, no. This is a great little pair of shoes my daughter picked up for walking while she was in Italy this summer. Great for walking, but the cuteness factor was nil. So, a little wooly, woven fabric and a few white buttons come to the rescue. The fabric (from an old skirt) is cut about 1.5" wide and 6" long, gathered a bit on the ends to give it a ribbon-ish look. No hems - the unraveled edges add to the texture. To that I added a smattering of buttons - similar, but in various sizes - using black embroidery thread to add a bit of contrast. Took about 15 minutes, including hot gluing them to the shoes. Cost was pretty much $0, thanks to having all the pieces and parts on hand from other projects.
Labels:
buttons,
canvas shoes,
flats,
retro fabric,
ribbon,
shoes
Sunday, January 23, 2011
Printer's Drawer Makeover
So...I saw a gorgeous jewelry organizer made from an antique printer's drawer and figured it would be soooooo easy to make myself and sooooooo much cheaper than buying it outright. Another of those "I can do that myself" things that wasn't remotely as easy as I thought!
Finding the drawer wasn't too bad - found 3 at one flea market and chose this one...
It was dusty and had some gunky nasty old sticky-glue globs in it, but otherwise it was bigger and in better shape than either of the other 2 trays I found that day. I cleaned, scraped, sanded and then spray painted. Cleaning each of those tiny cubbies took forever! And that old wood really soaked up the paint - probably used close to a full can of spray paint. A little sandpaper and a putty knife made the distressing part easy - I'm still debating on whether I should do a little more. I used a sabre saw to cut out some of the dividers to make longer spaces for a few necklaces. Next, to add hardware. What a pain! First, I had trouble finding just the right size eye-bolts and cup hooks, etc. After visits to 3 different stores, I finally had what I thought would be enough. I gave them a shot of the same ivory spray paint as the drawer. Next I created a template for marking where to put the eye-bolts in each cubbie so they would look pretty consistent. I drilled teeny-tiny pilot holes, then screwed the hardware in by hand. Do you see how many bolts/hooks there are? No wonder my hands kept going numb! And I found I still needed another package of eye bolts - should have counted before shopping :)I thought it was looking a little bland, so I added a colonial style hammered drawer pull to the top, after giving it a shot of the ivory spray paint and a bit of sanding. And then I realized I wanted something extra for my post earrings. The hooks and bolts were great for hanging kidney or french wire earrings, but I wanted something secure to push posts into. That's when the idea hit to add some wine corks. I put some velcro on the backs of the corks and in some of the cubbies so I can easily move them around, or replace corks if they start looking tacky. And do you see that teeny-tiny box on the bottom row? I made that from pieces of the dividers I had removed. It serves as a little storage area for earring backs - and to dangle a pair of earrings from too.For now, my organizer is hung with a long strip of old muslin, but I can change that out with other fabric or ribbon, or it hang it right on the wall.
It's done at last! Who would have 'thunk' this would have been such a big darned deal? I love the end result though, so I'll probably forget all the aggravations pretty soon. And at least the cost wasn't bad. $20 for the tray + approx. $8 for hooks, eye-bolts, paint, etc. And it shows off the gorgeous jewelry my daughter designs along with my other pieces perfectly!Linking up to my favorite weekly linky party at:
Finding the drawer wasn't too bad - found 3 at one flea market and chose this one...
It was dusty and had some gunky nasty old sticky-glue globs in it, but otherwise it was bigger and in better shape than either of the other 2 trays I found that day. I cleaned, scraped, sanded and then spray painted. Cleaning each of those tiny cubbies took forever! And that old wood really soaked up the paint - probably used close to a full can of spray paint. A little sandpaper and a putty knife made the distressing part easy - I'm still debating on whether I should do a little more. I used a sabre saw to cut out some of the dividers to make longer spaces for a few necklaces. Next, to add hardware. What a pain! First, I had trouble finding just the right size eye-bolts and cup hooks, etc. After visits to 3 different stores, I finally had what I thought would be enough. I gave them a shot of the same ivory spray paint as the drawer. Next I created a template for marking where to put the eye-bolts in each cubbie so they would look pretty consistent. I drilled teeny-tiny pilot holes, then screwed the hardware in by hand. Do you see how many bolts/hooks there are? No wonder my hands kept going numb! And I found I still needed another package of eye bolts - should have counted before shopping :)I thought it was looking a little bland, so I added a colonial style hammered drawer pull to the top, after giving it a shot of the ivory spray paint and a bit of sanding. And then I realized I wanted something extra for my post earrings. The hooks and bolts were great for hanging kidney or french wire earrings, but I wanted something secure to push posts into. That's when the idea hit to add some wine corks. I put some velcro on the backs of the corks and in some of the cubbies so I can easily move them around, or replace corks if they start looking tacky. And do you see that teeny-tiny box on the bottom row? I made that from pieces of the dividers I had removed. It serves as a little storage area for earring backs - and to dangle a pair of earrings from too.For now, my organizer is hung with a long strip of old muslin, but I can change that out with other fabric or ribbon, or it hang it right on the wall.
It's done at last! Who would have 'thunk' this would have been such a big darned deal? I love the end result though, so I'll probably forget all the aggravations pretty soon. And at least the cost wasn't bad. $20 for the tray + approx. $8 for hooks, eye-bolts, paint, etc. And it shows off the gorgeous jewelry my daughter designs along with my other pieces perfectly!Linking up to my favorite weekly linky party at:
Tuesday, January 18, 2011
Theatre Thrift Finds
So....I had just returned from a chilly trip to the post office when my co-worker/friend, Debra, pops into my office and shows me the photos on her phone. Stuff. Free stuff. Cool, free stuff just a couple blocks away in front of the theatre props warehouse! Away we went in my wonderful van with the stow-n-go seats. We pulled up and hopped out - treasures for sure! I tried to stow-n-go the seats - - no luck. Too cold to mess with them so I just propped one into a semi-stowed position and we started loading! All the while my keys were in my grasp - and I kept accidentally hitting the lock button which makes my van's horn beep. Beep! Beep!! Beeeep!!! Didn't really want to draw attention to us picking through the trash, but of course I couldn't take a moment to put the keys in my pocket! For some reason, Debra doesn't seem to think I make a good partner for dumpster diving now :)
But it was worth it...love this little black & blue table....the criss-crossed supports are pretty badly broken and may not be salvageable. You can't see the top, for the other table is resting there, but it is covered with paint drips and blobs, and some pretty rough gouges. But I see potential - can't wait for the weather to warm up enough so I can play with it.The white table with the turned legs is upside down - not quite as rough as the black/blue table, but still in need of some intense love. And the little gold stool is very stocky and heavy. I'm imagining it with a hinged lid and attached pillow on top.
But my favorite find was this 3rd table....would you get a load of those crazy curvy legs! It's long and lean with thick shaped legs - very unusual - and screams to me that it wants to be a desk. Or maybe a display area for the wonderful artsy creations my daughter conjures up, like these black & white photos from her last photography class.
There's something about black & white photography that just captures my imagination.
And since many of these pictures are of my lovely grandkids, I'm hoping to talk the daughter out of a few of these. What a great day!
Labels:
curb alert,
furniture,
photos,
pictures,
portraits,
salvage,
stool,
table,
thrift finds
Wednesday, January 12, 2011
Entryway Mirror for a Tiny Space
What do you do for a skinny wall space next to a front door that needs a little somethin'-somethin'? My solution was found in a local flea market for less than $3.
It started like this....
A 1990-something mirror with a good solid wood frame - 2 hooks, but one broken - and some kind of "stuff" all over the mirror. Maybe a spray adhesive overspray? A little acetone took the "stuff" off nicely. I removed both hooks and filled the holes with wood putty. A quick, light sanding, then I covered the mirror with newspaper and spray painted a layer of black then a layer of brown spray. Kind of haphazardly. Quick - easy!After the spray paint was completely dried I brushed on a dark walnut stain (Minwax). I didn't wipe off a bit! Just left it on and let it dry for about 4 days. This made the finish a deep, dark espresso color with lots of glossy shine. I bought a couple of simple brushed nickel coat hooks and attached them to the sides. It's the perfect size for this small space and gives a much needed spot for a coat or hat. Turns out the wall had no studs where I wanted this hung, so I attached a small strip of wood to the wall, so screws could go into the wood inside the wall. Then I hung the mirror from that. I'm debating - may paint that wood strip the same gold as the wall. But for now it is a dark brown/bronze. Project cost: about $6 total!
Linking up to:
Labels:
coat hooks,
coatrack,
Entryway,
mirror,
rescued
Saturday, January 8, 2011
Dangles and Baubles
Coming soon...something special to display these beautiful handmade jewelry pieces!
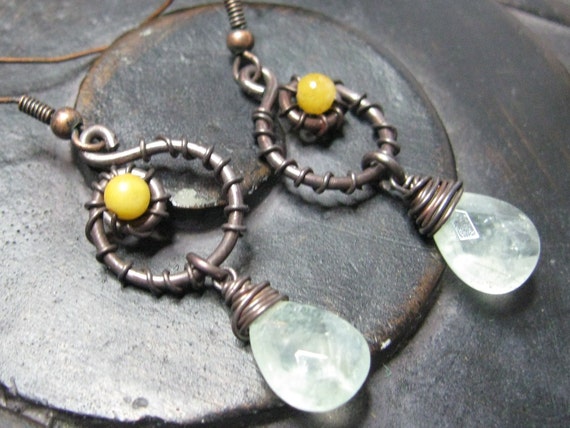
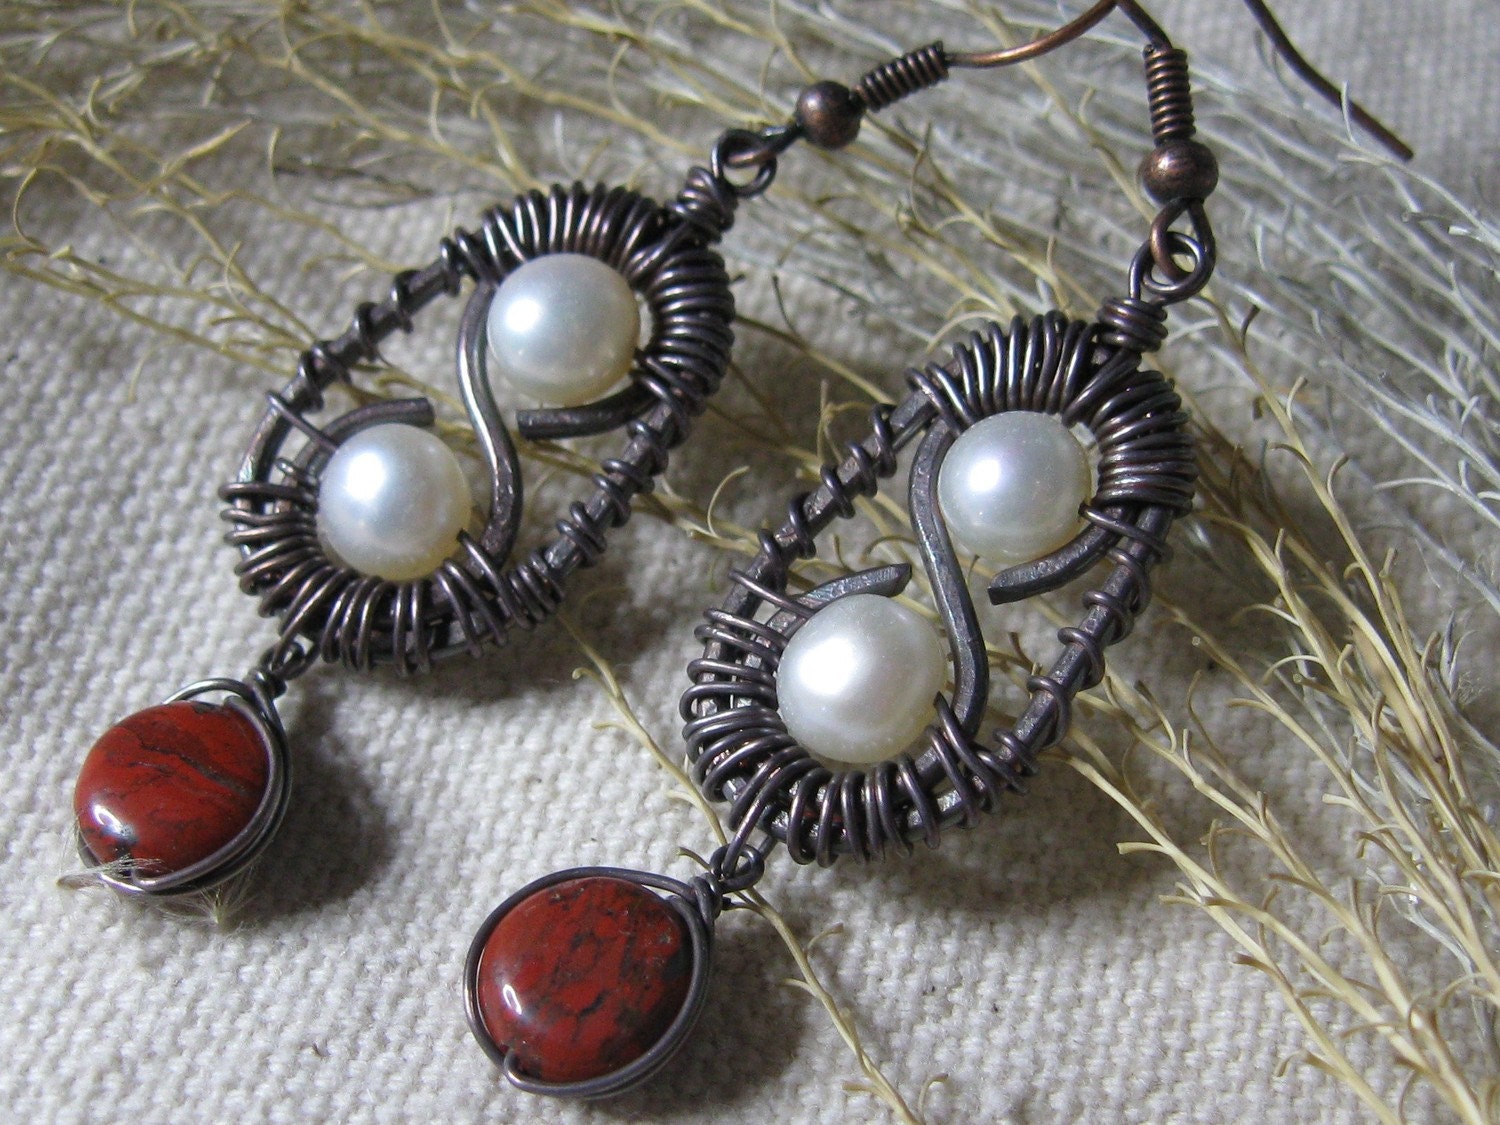
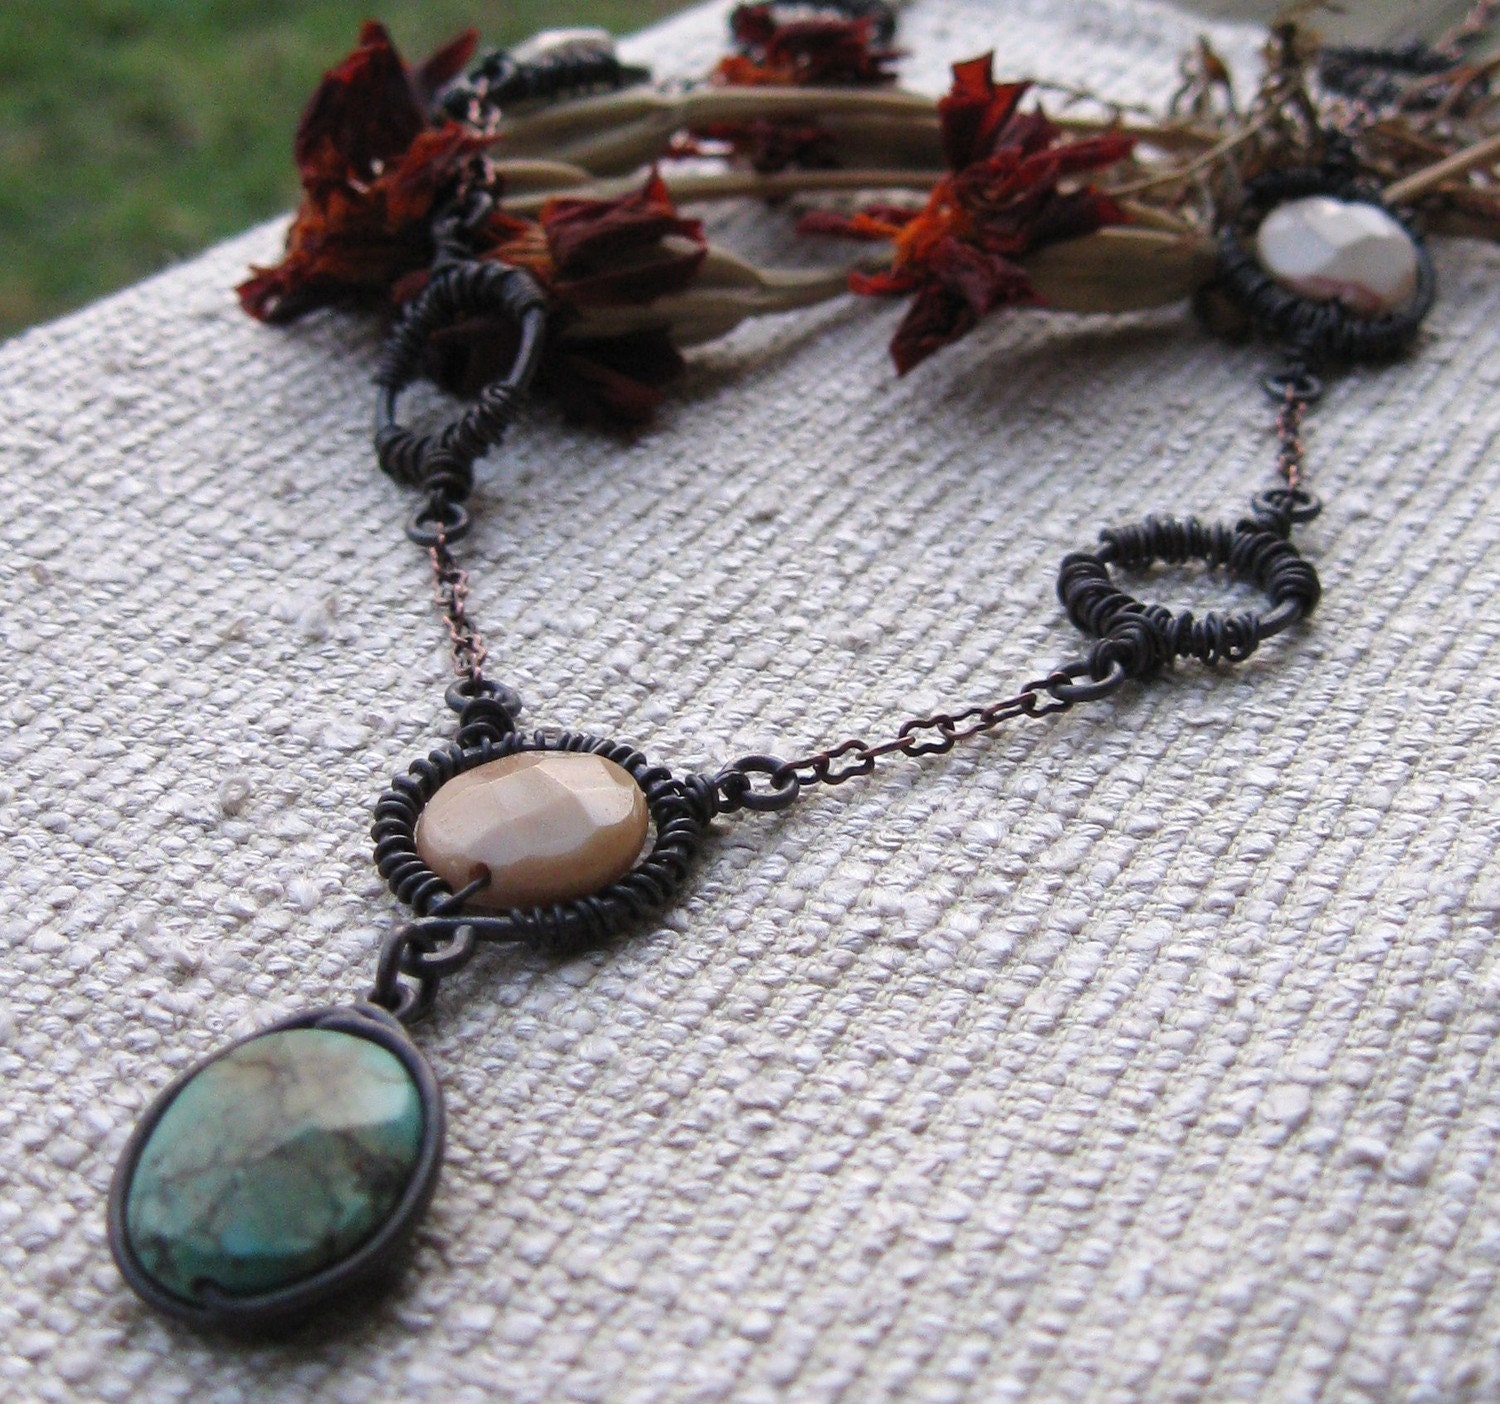
It's taking a bit longer than anticipated (like ALWAYS!) but hopefully in a couple of days I'll share my version of a fabulous jewelry organizer I've been working on. In the meantime, feast your eyes on a few of the lovely pieces my darling daughter has designed recently. You can see her whole line in her Etsy Shop!
Saturday, January 1, 2011
2011 - A Year of Sharing
2010 slipped by with no posts to this blog. It wasn't really intentional. Life simply filled up with so much 'stuff' ... some not so good, along with LOTS of good ... that I didn't take the time. I resolve in 2011 that I will share! Posting is good. Knowing I want to get at least one post a week in means I have to really focus on a project or other share-worthy accomplishment. And I've got a ton of things on my 'want-to-do' list that I hope to share in 2011!
For starters, how about this sweet, vintage, front door monogram? Hubby's parents had those wonderful storm doors with their surname initial that were so popular in the 1950s-60s. The doors are long gone, but this monogram has found a new purpose...
I dismantled the old storm door to get this off, and my dear husband removed a couple of pieces that were still riveted on that I didn't care for....and voila! A wonderful vintage piece perfect for hanging next to our front door to welcome guests to our home. For Christmas/Winter I've added greenery and pine cones. I'll update the look for spring and other seasons/holidays - stay tuned for those!
Linking to my first-ever linky party over at Beyond the Picket Fence!
Subscribe to:
Posts (Atom)